What if I took a few LEDs, sequenced them, and turned my spaceman pants into mind blowing walking light show pants? Gimme.
Well.. a few LEDs turned into more LEDs, which turned into more LEDs, which led into micro-controllers, which.. well.. you get the idea. Bigger, better faster, more!
Here is my step-by-step thread. Hopefully it inspires others to play with LEDs and see that it's really not all that hard, and interestingly enough.. this is my 1000th post.
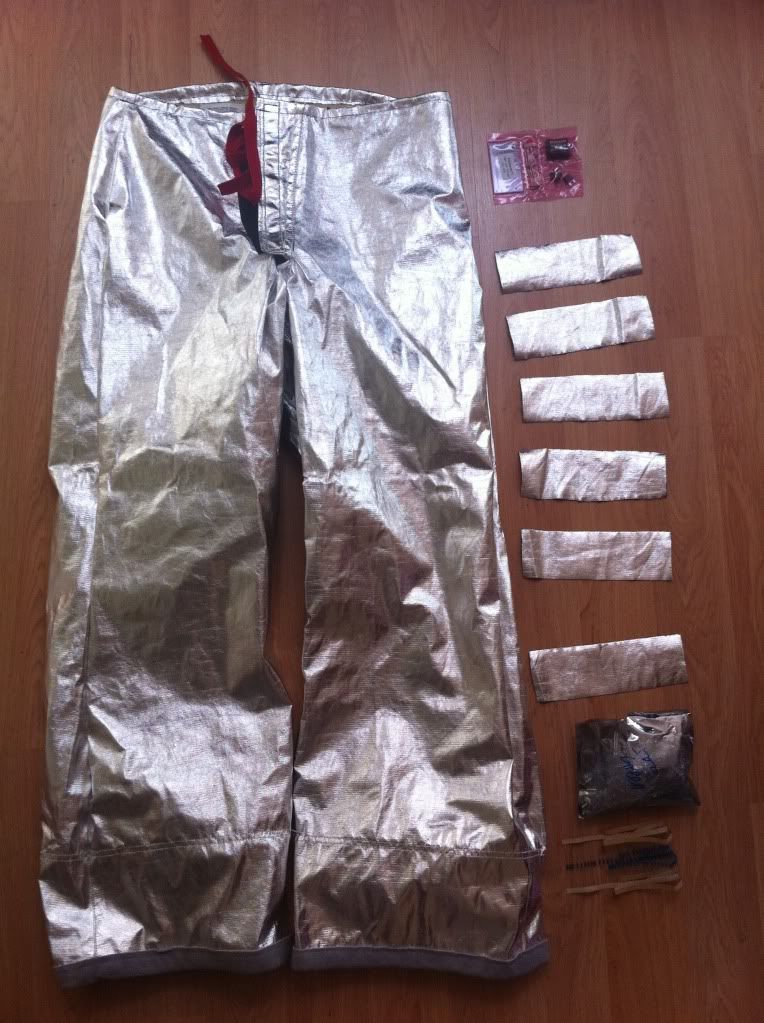
Above is mainly what I'm working with. My new pair of firemans crash pants that have been re-sewn into size 34s with a drawstring, raw 5mm round top LEDs, resistors, and the kit. The plan is to have 8 different banks of 75 LEDs per leg sewn down the sides in an "equalizer" type manner. The battery pack and sequencing board will be held in a fanny pack around my waist, and will be attached to the pants with a quick disconnect plug.
I bought a second pair of the pants from a surplus store, and used them to cut up and make 7.5" x 2.5" rectangles to attach the LEDs to. I felt this was better that attaching them directly to the pants, since I could assemble and service them better. It would also allow the pants to flex better without putting stress on the assemblies, and the wiring would be more protected.
Before you do anything, you need to figure out your wiring diagram and what type of resistor you will need to order. I decided on using 5 rows of 15 LEDs per rectangle, for a total of 75 per channel.
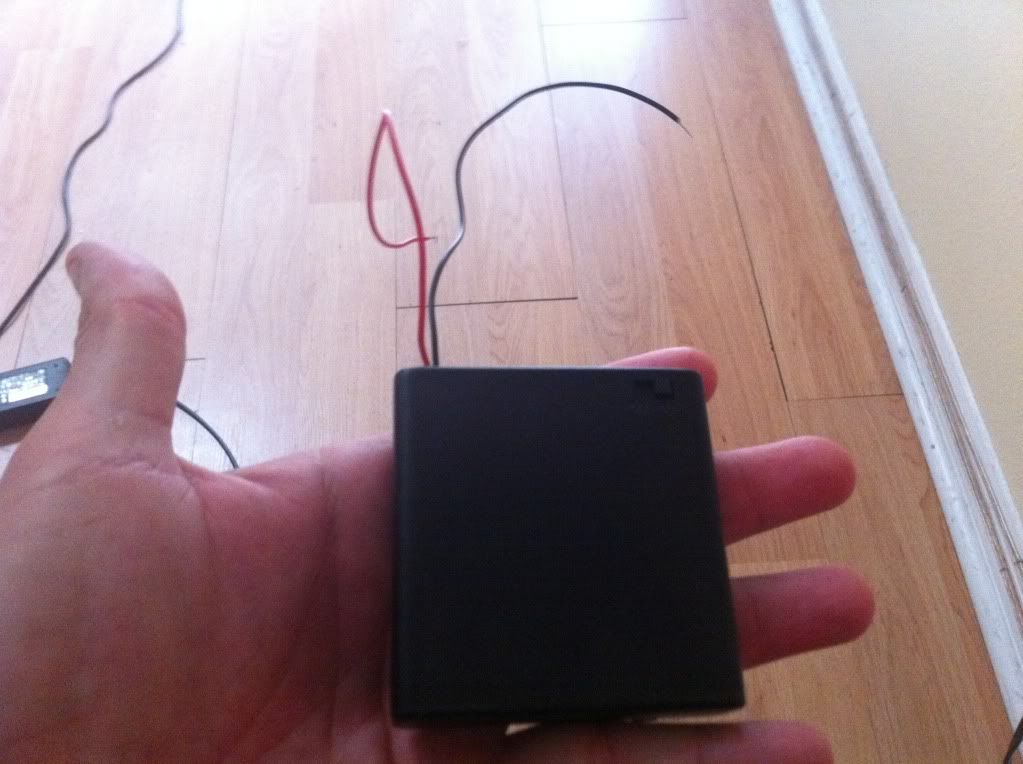
For power, I'm using simple little 4 x AA battery packs from Radio Shack with an on and off switch on them. Each battery pack is 6v, so 3 of them connected in series gives 18v. You could use 6v, 12v, 18v.. whatever.. I just chose 3 packs so that the batteries would last longer since every time a channel fires off, it's lighting 150 LEDs at one time.
So, back to the wiring planning. Being as that I know that I'm using an 18v source with 75 LEDs, I can now plan my diagram.
When you purchase the LEDs, there should be specs that come with them. Most standard 5mm LEDs have the same specs through regardless of manufacturer, but be safe and check them out. I purchased mine from a Hong Kong seller on Ebay for pretty cheap:
http://cgi.ebay.com/ws/eBayISAPI.dll?Vi ... K:MEWNX:IT
If you scroll down, you see the specs. The most important number is the the forward voltage (3.2v). Most LEDs like to run on 20mA, but you can change this number according to how bright you want them. These super bright LEDs are blinding at 20mA, so to save some power and tone them down a touch I'm going to run them all at 15mA. You control this with the size resistor that you use.
Ok, now we have the number of LEDs that will be connected all at once (75), the source voltage (18v), the forward voltage of the LED (3.2v) and the current that I want running through them (15mA). I take these numbers, and use the LED calculator to figure out my resistor size: http://led.linear1.org/led.wiz
Put all those numbers in, and you see that I should be using 150 ohm, 1/4 watt resistors and connecting one resistor per chain of 5 LEDs. It even gives you a little diagram and all to follow. Super simple!
So, now to actually make the banks of LEDs:
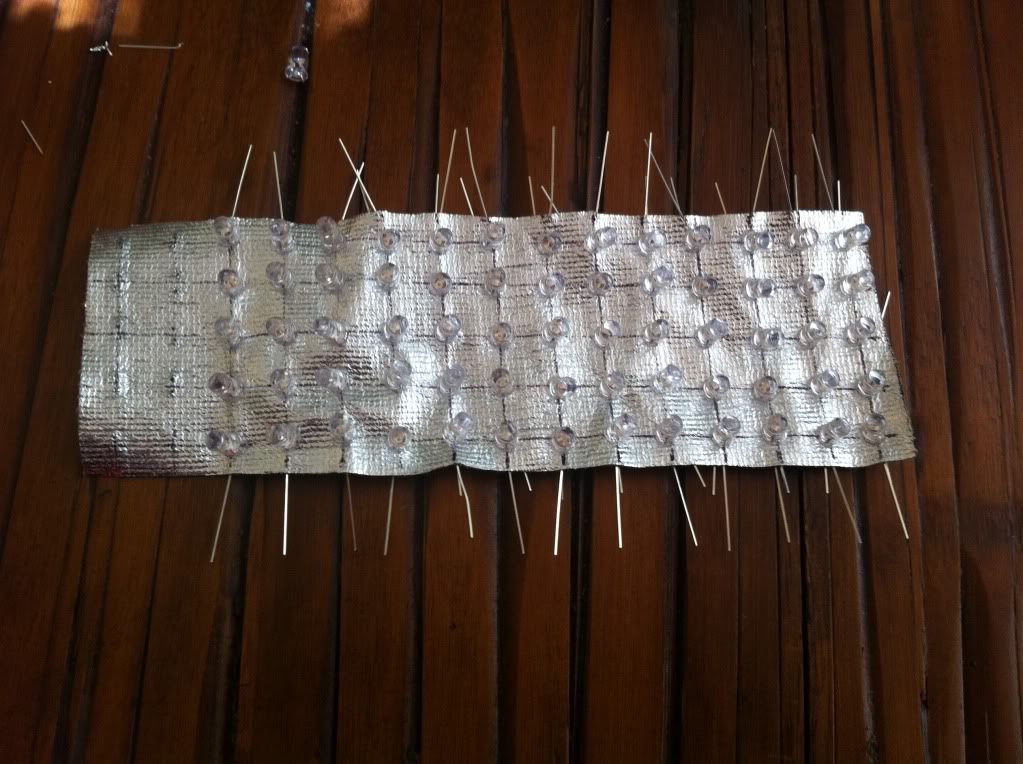
I evenly spaced the LEDs at 1/4" off the sides of the fabric, then 1/2" spacing between rows. Drew lines with a fine Sharpie, and then pushed the LEDs through one by one. Each LED has two contacts.. a positive and negative. The longer wire is always the positive wire. Remember that. So, when I pushed them through, I put all of them in the same orientation with the positive wires always facing "north" if you will. I bent the wires after I pushed them through to keep them from backing out.
Next, since I'm going to need banks of 5 LEDs at a time connected in series.. how convenient that I have 15 rows of 5 LEDs, each with the negative contacts facing south and the positive facing north. I twist the positive and negative contacts together for each one, and leave the leading + and the trailing - hanging off ready to attach to the resistors and power source.
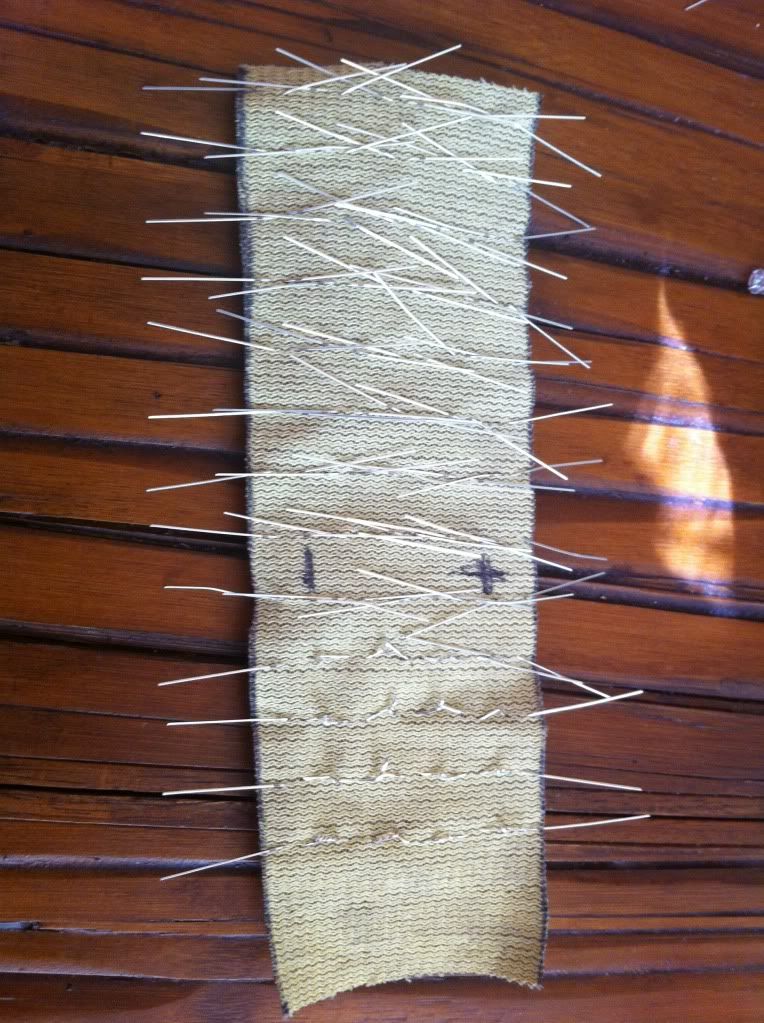
Yes, this is the most time consuming part. I'll be making these banks of LEDs for the next forseeable month, I'm sure. With that, I'll let you digest the project so far, and check in as I make progress.. wish me luck!